
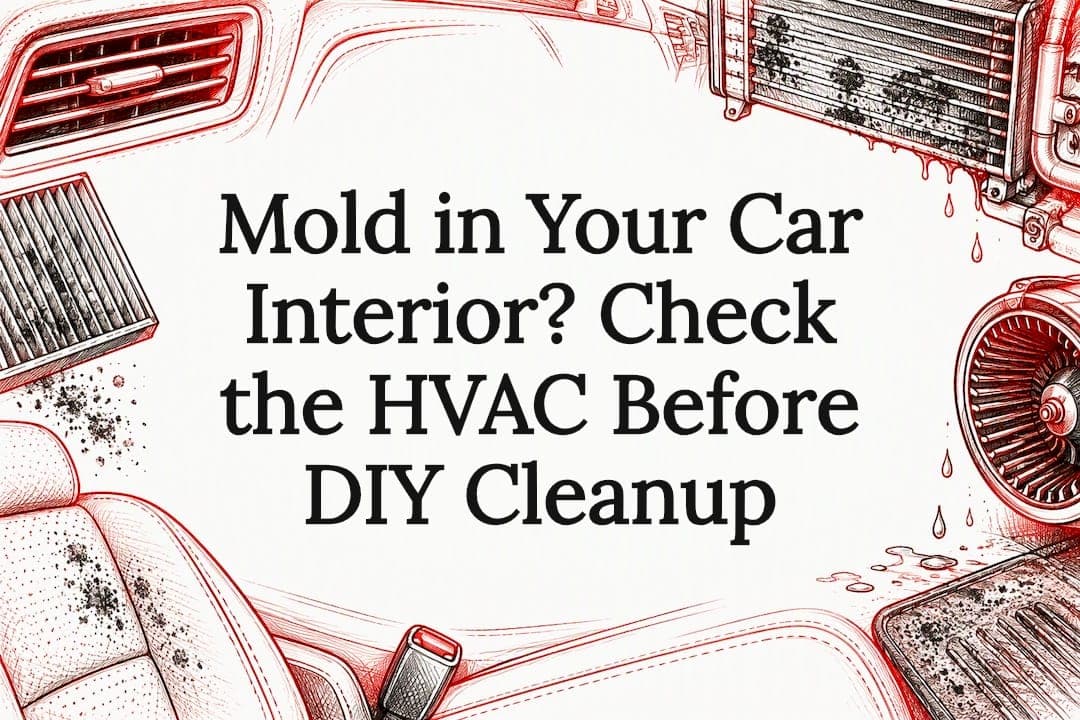
Surface mold in a car interior is usually fixable with the right cleaning steps, as long as you catch it early and dry the cabin completely. Deeper contamination in padding, foam, or the HVAC system often needs professional extraction. Before you touch anything, open all the doors, put on an N95 mask, goggles, and gloves, and pull out any wet mats or trash so spores stop spreading while you work through the steps below.
TL;DR:
- Wear an N95 respirator, goggles, and gloves; people with asthma, mold allergies, or weakened immune systems should avoid direct cleanup and hire a professional.
- HEPA vacuum first, use a mild detergent or diluted white vinegar on light growth, then extract moisture and dry fully within 24 to 48 hours.
- Try a foaming evaporator cleaner for mild cases, but book professional HVAC cleaning if the odor returns within a week or two.
- For leather, Alcantara, and delicate fabrics, test cleaners on a hidden spot, avoid soaking, and skip bleach, ammonia, or products with high alcohol content.
Table of Contents
- How Can You Tell If It's Mold and Not Just Dirt?
- Safety First: PPE, Ventilation, and Mistakes to Avoid
- Step-by-Step Mold Removal Workflow for Your Car
- Why the Evaporator Core Is a Hidden Mold Source
- When to Hire a Pro: What Professional Remediation Looks Like
- How to Keep Mold From Coming Back
- What Actually Causes Mold to Grow in a Car
- How Mold Damages Your Car's Interior If Left Untreated
- Cleaning Products That Are Safe for High-End Car Interiors
- Keeping Your Interior in Shape After Mold Removal
- Removing Mold From Leather, Alcantara, and Specialty Materials
- Why Careful Diagnosis Matters More Than a Quick Fix
- Get Your Car's Mold Issue Resolved the Right Way
- FAQ
- Sources
How Can You Tell If It's Mold and Not Just Dirt?
Mold in a car usually announces itself before you even see it. The smell comes first: a musty, "wet sock" odor that lingers even after the windows have been down for a while. That persistent smell, especially one that returns a day or two after cleaning, is one of the clearest signs you're dealing with active growth rather than a one-time spill.
Visually, mold shows up differently depending on the surface. On cloth seats and carpet, look for fuzzy, raised spots in black, green, or white. On leather, it often looks like a dull, powdery film rather than fuzz. On hard plastic or vinyl trim, it tends to sit as a thin discoloration you can sometimes wipe off, which is a decent sign it hasn't dug in deep.
A few quick checks help you gauge severity before you start cleaning:
- Touch test: gently press a cloth-covered finger on the spot; if it smears instead of brushing off dry, it's likely active growth, not just dust.
- Smell-after-drying test: if you've already dried the car once and the odor returns within a day, moisture is probably still trapped somewhere.
- Location check: mold under seats, in door pockets, or near the carpet edges often points to a leak or spill rather than simple humidity.
- Vent check: turn on the AC and sniff near the vents; a stronger musty smell there suggests the evaporator core, not the seats, is the real source.
If you see mold spreading across multiple materials, smell it through closed vents, or notice soft, spongy padding under the carpet, treat that as a red flag for hidden contamination that goes beyond a simple wipe-down.
Safety First: PPE, Ventilation, and Mistakes to Avoid
Before any cleaning starts, protect yourself. The CDC recommends wearing at least an N95 respirator, goggles, and gloves when cleaning mold, and advises that anyone with asthma, a mold allergy, or a weakened immune system avoid direct contact with moldy areas altogether. If that describes you or a passenger who uses the car, it's worth having someone else handle the cleanup or booking a professional instead.
A few rules matter as much as the PPE itself:
- Never mix bleach and ammonia-based products; the combination produces toxic fumes.
- Skip air fresheners and odor-masking sprays as a fix. They cover the smell without touching the growth underneath, so it keeps developing.
- Avoid ozone generators as a mold cure. The EPA notes that ozone is generally ineffective at concentrations that meet public health standards and can be hazardous at the levels needed to actually decontaminate a space.
- Keep doors or windows open while you clean to limit spore buildup inside the cabin.
Rapid, thorough drying, ideally within 24 to 48 hours, is one of the single most important steps to keep mold from re-establishing itself in porous car materials, according to EPA remediation guidance. That timeline should shape how you plan the rest of the cleanup, not just the cleaning itself.
Step-by-Step Mold Removal Workflow for Your Car
Once you're geared up and the area is ventilated, work through the process in order rather than jumping straight to scrubbing. Skipping steps is usually what lets mold come back within a week.
- Clear the cabin. Remove trash, floor mats, and any loose fabric items. Park in a sunny, airy spot or leave all doors open if you're working in a garage.
- Address standing moisture first. If there's any pooled water from a leak or spill, extract it with a wet/dry shop vacuum before you do anything else. Cleaning around standing water just spreads spores.
- HEPA vacuum the affected areas. A HEPA filter actually captures mold spores instead of blasting them back into the air, which a standard vacuum can't do.
- Apply an appropriate cleaner. A mild detergent solution or diluted white vinegar works for most surface mold; an EPA-registered mold cleaner is appropriate for heavier growth. Apply, let it sit briefly, then agitate gently with a soft brush.
- Blot, don't soak. Blot the area with a clean microfiber towel instead of oversaturating the material. Extra moisture just feeds the next outbreak.
- Extract and dry aggressively. Use a wet/dry vacuum or upholstery extractor to pull out as much moisture as possible, then run fans and a dehumidifier with the doors open. The goal is full drying within that 24 to 48 hour window.
- Re-inspect after drying. Check the treated spots and the surrounding area again. Stubborn patches often need a second treatment pass.
- Decide on replacement. If foam padding stays spongy, discolored, or smelly after drying and retreating, it has likely absorbed contamination that cleaning alone won't resolve, and replacement is the more reliable option.
Pro Tip: Work in small sections rather than cleaning the whole interior at once. Fully drying one seat before moving to the next keeps moisture from migrating into areas you've already treated.
This sequence handles most surface-level mold on seats, carpet, and headliners. If the smell returns after you've dried everything properly, the source is likely somewhere you haven't cleaned yet, which is almost always the HVAC system.
Why the Evaporator Core Is a Hidden Mold Source
A lot of drivers clean every visible surface, swap the cabin air filter, and still get hit with a musty smell every time the AC kicks on. That's because the evaporator core sits in a dark, consistently damp environment every time the air conditioning runs, which makes it a near-ideal breeding ground for microbial growth. Automotive maintenance guidance confirms that evaporator cores can harbor microbial colonies, and that swapping the cabin air filter alone often doesn't remove growth that's established on the core itself.
A musty smell that gets stronger specifically when the AC or heater is running, even after you've deep-cleaned the seats and carpet, is a strong sign the HVAC system itself is the source.
A couple of DIY-safe options exist for mild cases:
- Foaming evaporator cleaner, applied through the HVAC's fresh air intake or drain tube, can reach the core directly and is a common first step for AC odor.
- Running the AC on high with windows down for ten to fifteen minutes afterward helps dry out the housing and flush loosened residue.
Pro Tip: If the musty smell returns within a week or two of using a foaming cleaner, that usually means the contamination is beyond what a spray treatment can reach.
When symptoms persist after these steps, the evaporator housing likely needs to be partially disassembled for direct access and cleaning, which isn't something most home garages are set up to do safely.
When to Hire a Pro: What Professional Remediation Looks Like
Certain signs mean it's time to stop troubleshooting and call in a professional. A few clear triggers:
- The musty smell persists after a full cleaning and proper 24 to 48 hour drying cycle.
- Padding or foam under the carpet or seats stays damp, spongy, or discolored after drying.
- The smell is clearly tied to the HVAC vents rather than the seats or carpet.
- Anyone who regularly rides in the car has asthma, allergies, or a compromised immune system.
Professional remediation typically goes further than a home cleanup: component disassembly to access the evaporator housing, HEPA vacuuming, wet extraction, targeted deodorization treatments, and replacement of foam or upholstery when contamination has gone too deep to clean out. That kind of staged approach, component access followed by extraction and targeted treatment, mirrors what remediation guidance recommends for persistent cases.
At our detailing shop, every vehicle is personally inspected and approved by the owner before it leaves, and we have serviced a large number of cars. If you're vetting a detailer or remediation contractor for a mold job, it's worth asking what showroom-quality workmanship looks like in practice, whether they inspect and treat the HVAC system (not just the cabin surfaces), what products they use on leather versus cloth, and whether they guarantee a follow-up odor check.
How to Keep Mold From Coming Back
Prevention comes down to one principle: mold needs moisture, so controlling moisture controls mold. EPA guidance is direct about this, identifying rapid drying, within 24 to 48 hours, as the most effective single step for preventing growth on porous materials.
A few habits make a real difference over time:
- Avoid leaving wet towels, gym bags, or damp umbrellas in the car for extended periods.
- Use moisture absorbers or silica packs in the trunk and under seats to help reduce humidity, especially in humid climates.
- Occasionally crack a window after parking in direct sun to help release trapped humidity.
- Schedule periodic HVAC checks, since a neglected evaporator core is one of the most common repeat offenders.
- Address spills and wet floor mats the same day rather than letting them sit.
Certain seasons add their own risks. Winter storage can trap condensation if a car sits closed up in a cold garage, while rainy-season driving tracks in moisture through floor mats and door seals day after day. A quick interior check every couple of weeks during those periods catches problems early.
| Prevention habit | Why it matters |
|---|---|
| Dry wet items same-day | Prevents the moisture mold needs to establish |
| Moisture absorbers in trunk/cabin | Reduces ambient humidity between drives |
| Periodic HVAC/evaporator checks | Catches hidden growth before odor spreads |
| Crack windows after sun exposure | Releases trapped humidity buildup |
| Regular smell and visual checks | Flags early growth before it spreads |
Catching a musty smell early and acting within a day or two is consistently easier and cheaper than dealing with a fully established colony later.
What Actually Causes Mold to Grow in a Car
Mold needs two things: moisture and organic material to feed on, and a car interior supplies both. Spilled drinks, wet swimsuits, and damp gym gear are the most obvious culprits, but slower sources cause just as much damage because they go unnoticed longer.
AC condensation is one of the biggest contributors. Every time the air conditioning runs, moisture collects in the evaporator housing and drain system; if that drain gets clogged, water backs up into the carpet instead of draining outside the car. A cracked windshield seal, a failed sunroof drain, or a door seal that's lost its shape can let rainwater seep in slowly enough that you don't notice until the smell shows up weeks later.

Humid climates add a layer of risk even without any direct water source, since a car parked outside all day can trap enough ambient moisture to support growth over time, particularly in carpet padding and seat foam that hold onto dampness far longer than the surfaces above them. Anywhere moisture lingers without airflow, whether that's a leak, a spill, or just a consistently damp climate, becomes a candidate for mold given enough time.
How Mold Damages Your Car's Interior If Left Untreated
Mold doesn't just smell bad. Left alone, it actively breaks down the materials it's growing on. Fabric upholstery can develop permanent staining and a weakened weave as the mold feeds on natural fibers, while foam padding underneath seats and carpet can become compacted, discolored, and musty in a way that cleaning alone won't reverse.
Leather is particularly vulnerable because mold can work into the finish and compromise the surface coating, leading to discoloration or a dull, uneven texture that's difficult to restore once it sets in. Headliners are another weak point, since the fabric is glued to a foam backing that, once saturated, tends to sag or separate.

Beyond the materials themselves, unresolved mold keeps circulating spores through the cabin every time the HVAC system runs, which means the odor and the health concern both get worse the longer it's ignored. The longer contamination sits, the more likely it moves from a cleaning job to a replacement job, which is a meaningfully bigger expense than catching it early.
Cleaning Products That Are Safe for High-End Car Interiors
Not every mold cleaner that's safe for a budget cloth interior is safe for leather, Alcantara, or specialty trim. Harsh bleach solutions, ammonia-based cleaners, and anything with a high alcohol content can dry out and crack leather, strip factory coatings, or discolor delicate fabrics.
For most interiors, a pH-balanced leather cleaner formulated for automotive use is the safer choice over general household cleaners, since it lifts mold residue without breaking down the leather's natural oils or protective finish. On cloth and carpet, a mild detergent solution or diluted white vinegar handles light to moderate growth without the risk that bleach carries. For heavier contamination, an EPA-registered mold cleaner is appropriate, but it's worth testing any product on a small hidden area first, especially on Alcantara or suede-like synthetics, which can water-stain or change texture if oversaturated.
Avoid steam cleaners on leather unless you know the specific tolerance of that finish, since excessive heat and moisture can cause cracking or peeling over time. When in doubt on a luxury interior, a gentler product applied twice beats a harsher one applied once.
Keeping Your Interior in Shape After Mold Removal
Once the mold is gone and the cabin is fully dry, the work isn't quite finished. Conditioning leather seats after cleaning helps replace oils that cleaning products strip out, which keeps the material supple and less prone to cracking. For cloth and carpet, a light application of a fabric protectant can help repel future spills before they soak in.
It's worth rechecking treated areas every few days for the first couple of weeks, since mold that wasn't fully eliminated often reappears in that window. A quick smell test near the vents and under the seats is usually enough to catch anything that slipped through the first round of treatment.
Keeping humidity in check matters just as much after the cleanup as before it. A small dehumidifying product left in the cabin between drives, combined with cracking a window on hot or humid days, helps prevent the same conditions that caused the problem in the first place. If you've recently gone through water spot or stain removal on glass or trim as part of the same cleanup, the same moisture-control habits apply there too.
Removing Mold From Leather, Alcantara, and Specialty Materials
Luxury interiors raise the stakes on mold removal because the materials themselves are harder to replace and easier to damage with the wrong technique. Leather responds poorly to oversaturation, since trapped moisture under the surface can cause the finish to bubble or separate from the backing, so cleaning has to stay light and well-blotted rather than soaked.
Alcantara and other microfiber-style suede alternatives present a different challenge: they absorb liquid quickly and can water-stain or flatten under too much pressure, so a soft brush and minimal moisture work better than aggressive scrubbing. A full reconditioning workflow for leather seats covers the broader steps for restoring finish and suppleness once mold-related cleaning is done, which matters because mold cleanup and leather conditioning are really two parts of the same job on these interiors.
Specialty fabrics used in higher trim packages often combine synthetic fibers with foam backing, and once mold reaches that backing layer, surface cleaning won't fully resolve it. On any of these materials, a cautious, test-first approach protects the finish far better than a stronger cleaner applied in a hurry.
Why Careful Diagnosis Matters More Than a Quick Fix
Mold cleanup on a high-end interior rewards patience over speed. We've found that the cars holding their value best are the ones where someone took the time to find the actual source, not just wipe down the symptom, before reaching for a cleaner. A seat that looks spotless but still smells musty after a week usually means the diagnosis was incomplete, not that the cleaning was.
That's really the difference between a quick home fix and a professional approach: one treats what's visible, the other finds what's hidden.
— Martin
Get Your Car's Mold Issue Resolved the Right Way
When mold goes beyond what a weekend cleanup can fix, our Full Detail PLUS, Full Detail, and Maintenance Detail services cover the thorough interior cleaning and extraction that deep contamination needs, with every vehicle personally inspected and approved by owner Steven Shames before it leaves our shop.

Reach out for an estimate and we'll walk you through what your interior needs, whether that's a single deep clean or an ongoing maintenance plan to keep moisture problems from coming back. Request a quote and we'll get you scheduled.
This article is general information, not a substitute for advice from a qualified doctor. Consult a qualified healthcare professional about your own circumstances before acting on anything here.
FAQ
Can a moldy car interior be fixed?
Yes, surface mold on seats, carpet, and headliners can usually be cleaned and dried out successfully when caught early. Deeper contamination in foam padding or the HVAC evaporator core often needs professional extraction or component replacement to fully resolve.
Can I get sick from mold in my car?
Mold exposure can trigger allergic reactions and respiratory symptoms in sensitive people, and the CDC advises that anyone with asthma, mold allergies, or a weakened immune system avoid direct contact with moldy areas. If you or a regular passenger falls into one of those groups, it's safer to have someone else handle cleanup or hire a professional.
What kills mold in car interior?
A mild detergent solution or diluted white vinegar handles light surface mold on cloth and carpet, while an EPA-registered mold cleaner is appropriate for heavier growth. Ozone generators are not a reliable option, since the EPA notes they're generally ineffective at safe concentrations and can be hazardous at the levels needed to actually decontaminate a space.
How do detailers remove mold?
Professional remediation typically involves HEPA vacuuming, wet extraction, targeted cleaning agents matched to the material, and thorough drying, with component disassembly when the evaporator core or deep padding is affected. Our professional remediation processes include personal inspection and approval by the owner to confirm the odor and contamination have actually been resolved, not just masked.
Sources
- CDC — Mold: Cleanup and remediation
- EPA — Ozone generators that are sold as air cleaners
- AutoZone — How to fix condensation from car AC